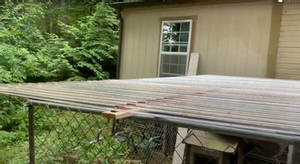
This is the final product. I show the below steps from start to finish on this nice new dog kennel.
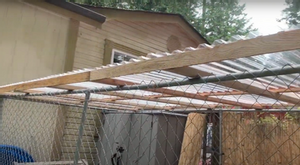
This tarped over dog chain link fenced in dog kennel needed a nice roof put on it. The tarp and fence served their purpose but it’s time for more of a permanent fix.
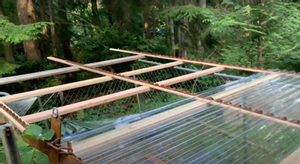
The first order of business is to pull off the old scabbed together cross members that offered some temporary support for the tarp. Once the old “roof” was off I took some measurements and headed out to Lowes. I bought some two by fours, one by threes, plastic roofing, some screws, brackets, moulding to match the roof and some small nails to hold the plastic roof moulding down to the frame.
I took the 2X4’s and played them across the top of the dog kennel fencing.
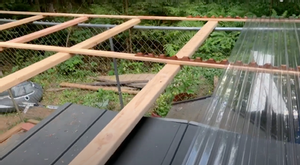
I then took the outer perimeter roof 1X3’s and screws them dow to the 2X4 cross members making sure the frame stayed square.
I then nailed the moulding for the roof down to the cross members. I used some smaller sized nails so as not to crack the thin moulding.
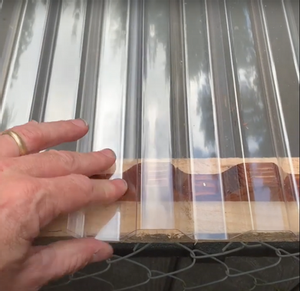
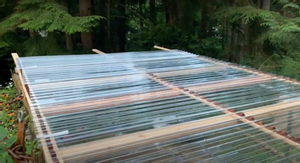
Now its’ time to lay the sheets of the plastic roofing down into the moulding. It fit quite nicely.
This took a little bit of time but not much at all. I overlapped the plastic roofing as well.
The overlap prevents the water from getting down into there.
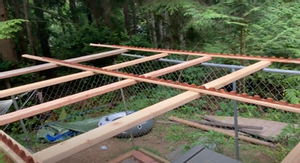
This is a shot of the roof before the plastic sheeting gets put on. It shows almost the full installation of the roof moulding.
Once the sheets are overlapped I screwed them into the moulding with screws containing rubber grommets. If I could do this job again I think I would screw to the top of the moulding rather than in the valley to allow the water to flow more freely and also so it wouldn’t be a stopping point for catching tree debris.
Slapping it all up there and screwing it down. This was all a one man job as all of the materials are very light and easy to work with.
I used brackets to secure the roof to the side walls of the chain link kennel to keep it from sliding off.
Here it is with all of the plastic sheeting put up and screwed down.
I secure the roof more with the brackets. The brackets are galvanized so they won’t rust. I used a cordless drill to screw these in.
This is the spot/side where the water will run off. It’s very slightly angled (not on purpose) so it makes it nice.I think if it wasn’t already angled a little bit I’d stick some shims or some sort of riser under one side in order for it to have some kind of slope.
The dogs loved it. This acts as just a temporary shelter for them due to it’s size. They get to stay inside during the night and in times of harsh weather.
Here’s one last shot of the finished product. Way more sturdy than the tarp that was on there before.
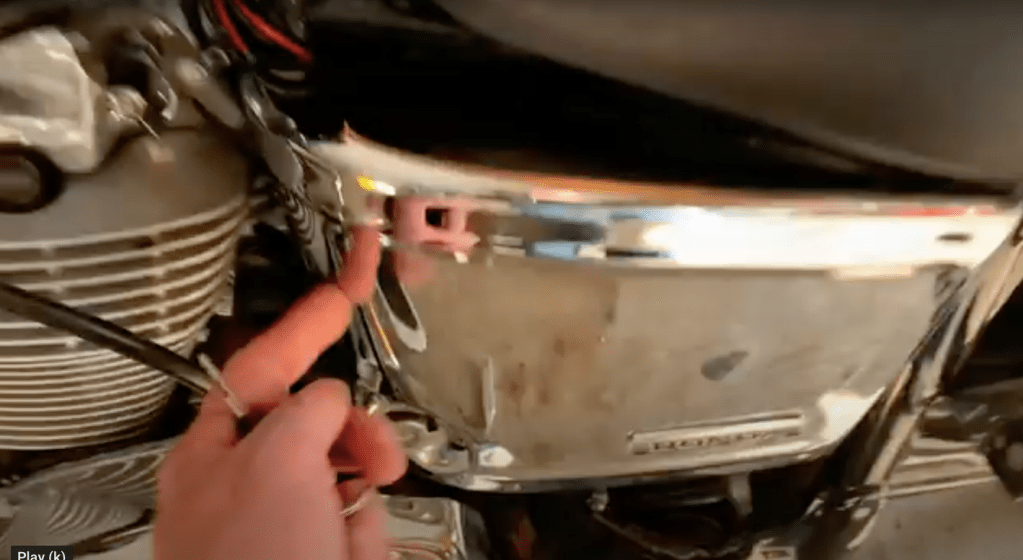
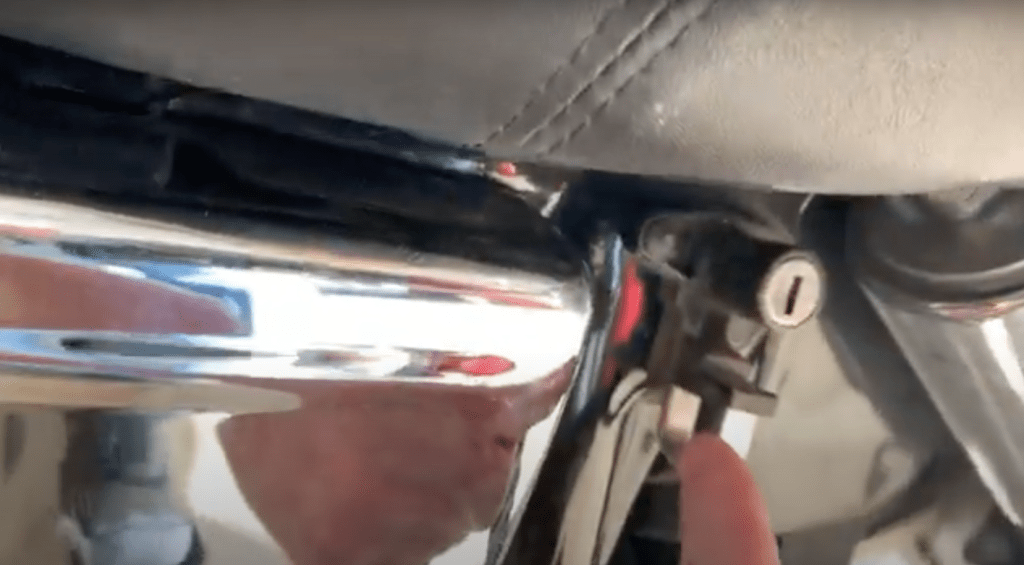
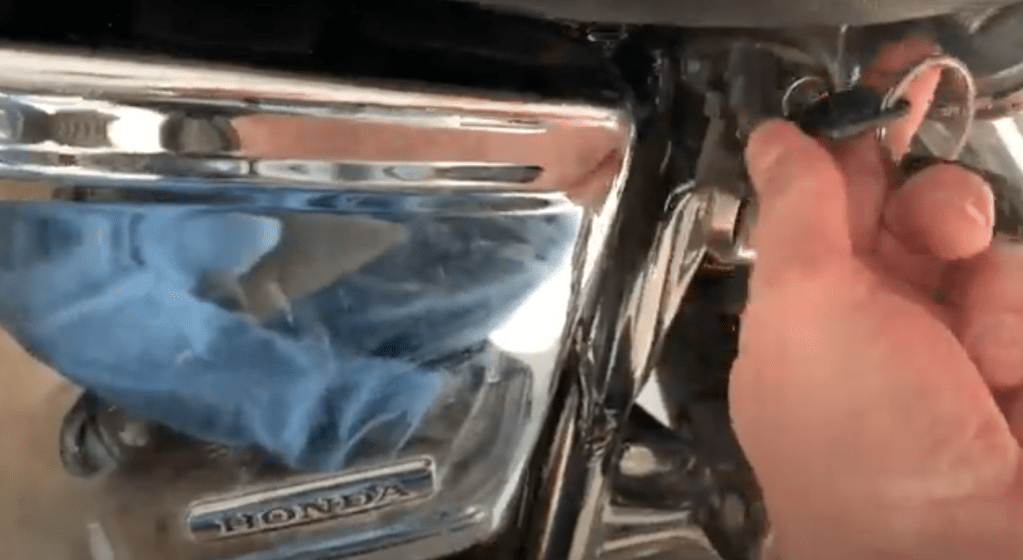
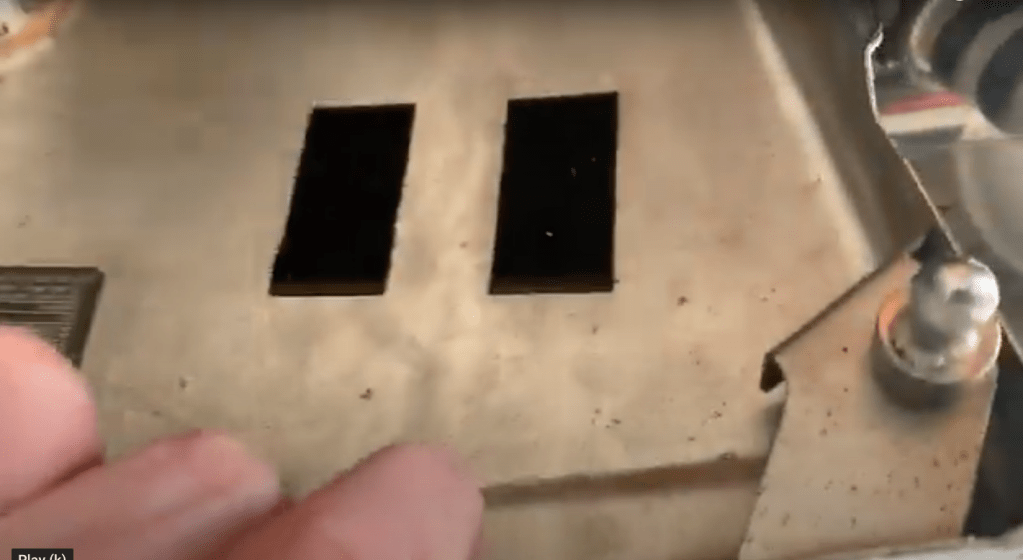
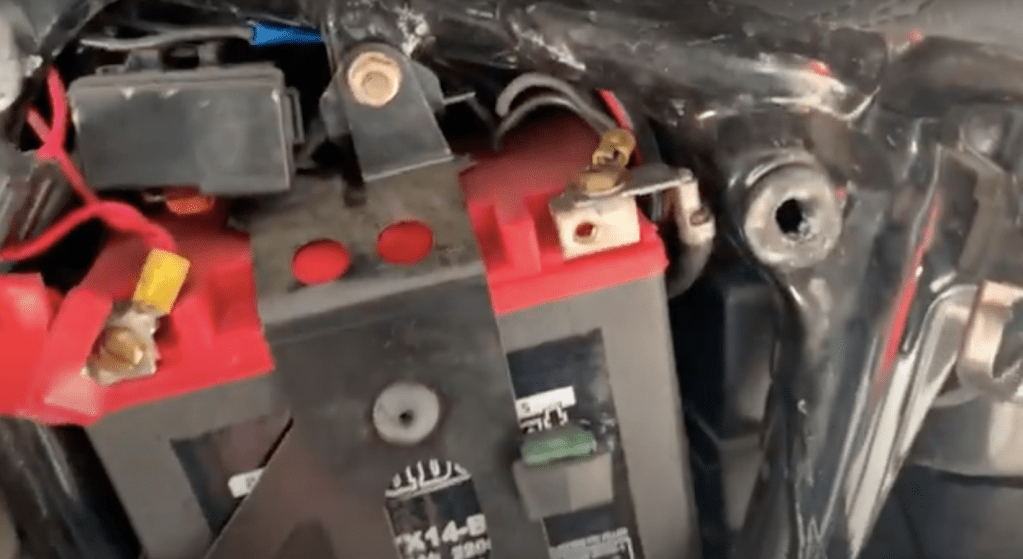
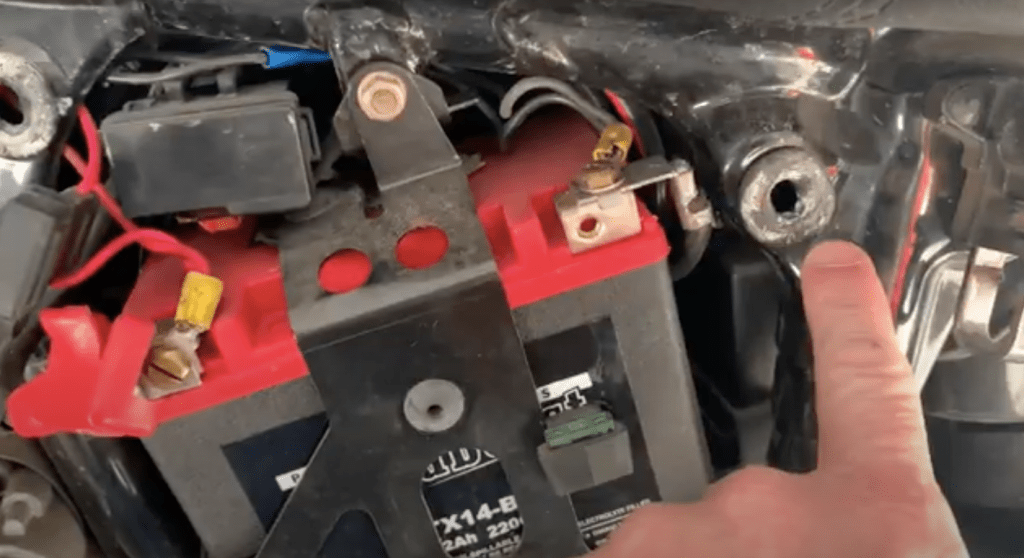
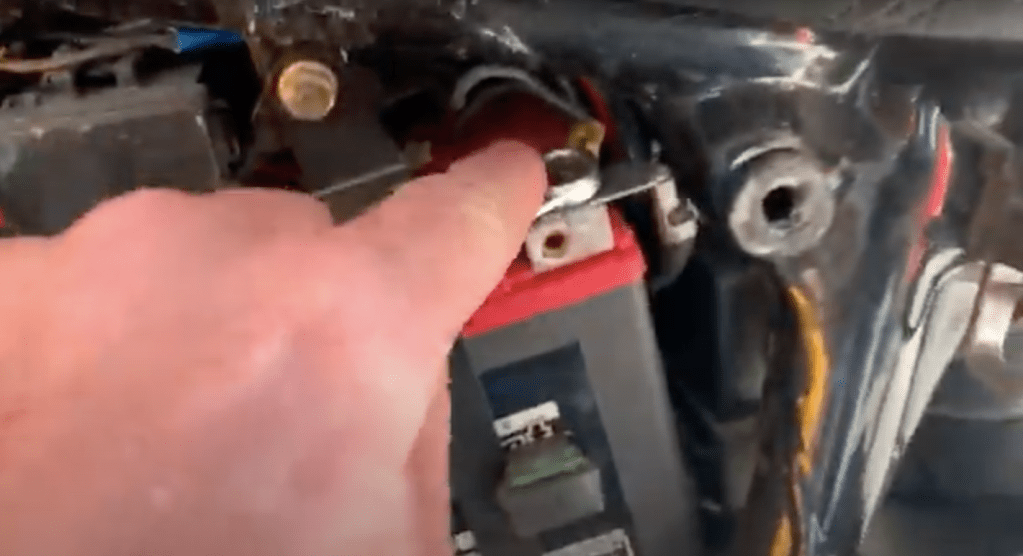
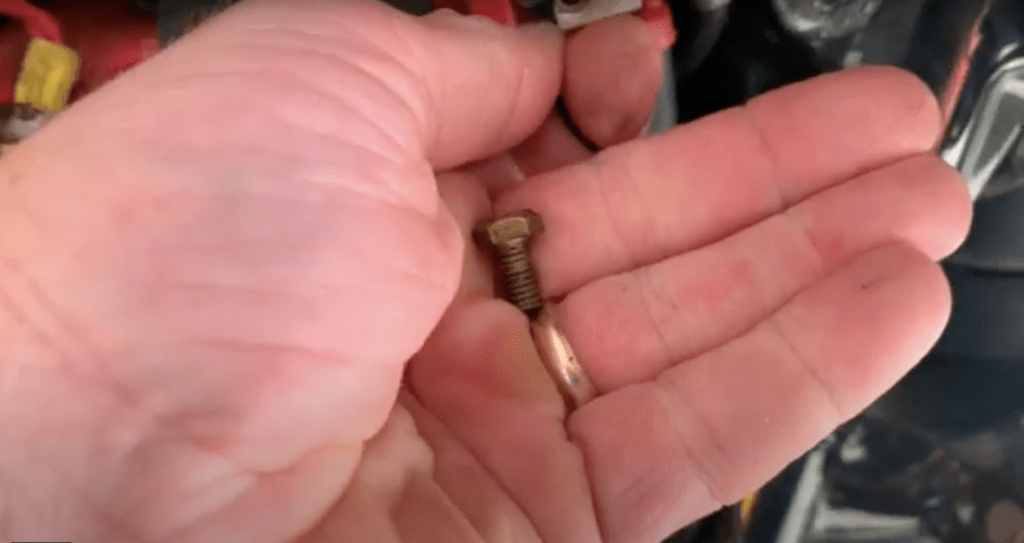
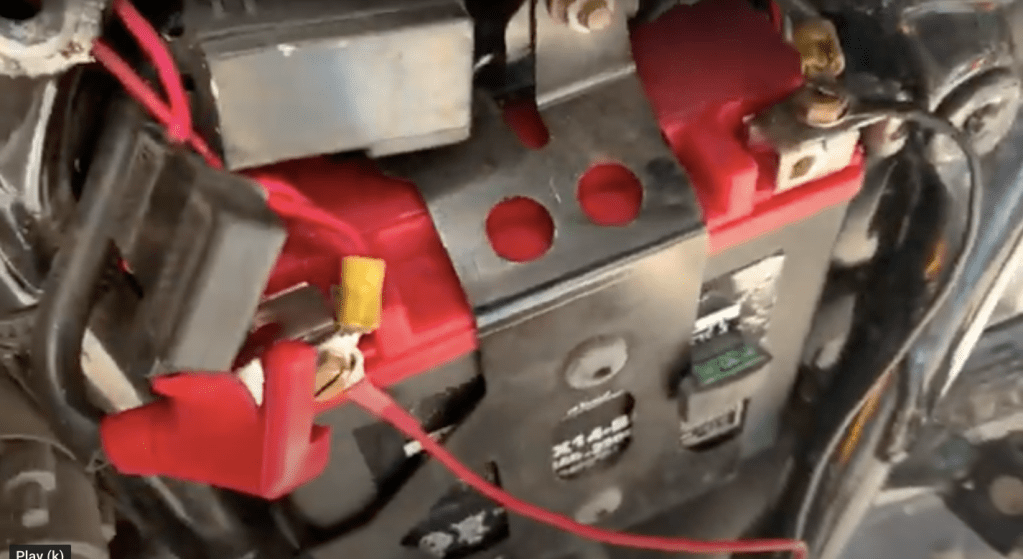
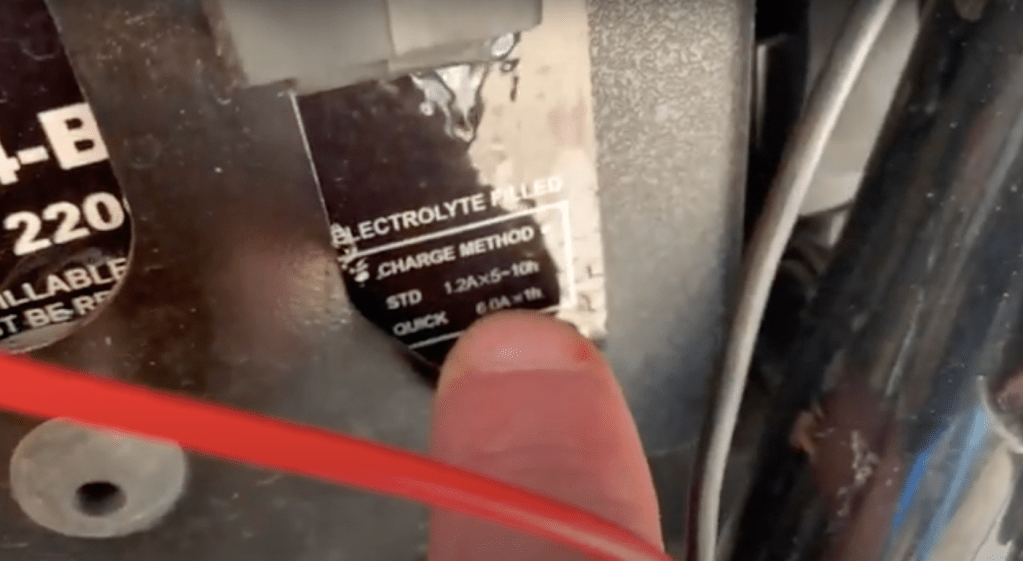
Above is the full video on how to do it and below is all of the step by step pictures along the way. How to Charge Your Streetbike Motorcycle Battery Tutorial Demonstration [Motorcycle Battery Charge] Get that power to the starter on your scooter! A battery can go dead fairly quickly if you leave your key in the on position. In this case that the battery wasn’t completely shot and was able to charge it back up with no problem. Have you ever left your key in the on position? If so, join the club. These are the simple steps to getting your battery up and running again. It’s a simple task after you’ve been through it once but if you’ve never done it, you may not know exactly how to go about it. So below are the simple step by step instructions on accessing and charging your battery. The battery case is the chrome box just below the seat and it requires your ignition key to open it. It will also take a 10mm socket or wrench for the single screw at the bottom and the thing will pop right off.
In my “DIY Shiplap on Bathroom Walls “How-to” Style Tutorial Video for Restroom Upgrade Remodel [Shiplap]” video I first started out by buying large 4 X 8 sheets from Lowe’s. Got them home and ripped them into 8″ wide strips with a table saw. This was a two person job due to the flex in the somewhat thin sheets. Once I ripped them all into 8″ strips it was time to start hanging them. I made the smaller cuts with a chopsaw or also known as a miter saw. I secured them to the wall with my craftsman battery powered brad nailer which made it really easy. I used nickels and washers for spacers in my gaps in an attempt to keep them as even as possible. Once it was all done we painted it all and then caulked.
Cheap and easy DIY Farmhouse Style Pallet Wood Deck with Repurposed Treated Wood Fence Post Cut Offs [Pallet Deck] “How to” style instructional step by step tutorial. The first thing I did was dig out the area a little bit so I could place my bricks level as well as the correct depth so the top of the deck would be the same height at the porch. While digging this out I made a very cool find. An old axe head!! Looking forward to the refurb on it. Once I got the area dug out I placed the bricks for all four corners at the correct depth as well as level. Then I put the old treated wood fence post cut offs in place on top of the bricks as the foundation. I then made sure they were square before I tacked them in with a brad nailer simply to hold them in place enough to start placing the pallet slats on top for the decking. Now it was time to measure and cut the pallet slats for the cross members for the the top decking. Once the pallets slats were all installed I installed some border trim on the edges for edge protection as well as a more finished look. Then it was basically done aside from filling the dirt back in around it and staining it. I used some used motor oil as stain and it gave it a nice look. I always like the idea of reusing old materials that may have otherwise gone to the landfill and reusing them giving them a fresh and useful new life.
The Ryobi Table saw blade that came with the saw had seen one too many nails during my pallet project board ripping operations and was in serious need of a change out. Join my on my first stab at changing out the blade on this. I got lucky and actually picked up a brand new blade for cheap at a second hand store. Perfect for my use as my likelihood of ripping through a nail is pretty high. The number one thing to do is make sure the saw is unplugged, above all else. Next is locating the spanner wrenches that come with the saw. They’ve conveniently got a place for them on the underside of the main deck of the saw. Just be sure to return them there once you are done with the change out.
Here’s a link to one on amazon (paid link): DEWALT 10-Inch Miter / Table Saw Blades, 60-Tooth Crosscutting & 32-Tooth General Purpose, Combo Pack (DW3106P5): https://amzn.to/2Owj6AE
DIY Pallet Project: Easy Raised Garden Bed From Repurposed Pallets [Pallet Raised Bed]. The first thing I did was secure my building supplies by harvesting a pallet. I heavily relied on my chopsaw for this project. I then created two identical (same size} frames from the pallet slats. Once they were done, I stood them uprights so they were positioned parallel to each other. I then ran pallet slats vertically from one frame to the other until I had all four sides covered. I used my craftsman 18Gauage brad nailer extensively for this project as well. Once the sides were complete I trimmed out the top with basically another frame with 45 degree cuts in the corners of the pieces. I then used pre-stain (let dry for 30 minutes or so) and then walnut stained it. Easy and FREE!! Ready to plant some stuff in there now.
DIY Wood Pallet Entry Way Sturdy Sitting Bench From Old Crate Pallet FRE…
Pallet project bench made from a discarded pallet into an upcycled and repurposed useful bench for an entry way (shoe tying bench), porch bench or even as part of the general furniture population. The request for this came out of the need for a spot to sit down and take off your shoes when you come in the door or put on your shoes before leaving. These custom (every one is almost guaranteed to be different) are a blast to make and the supplies are as free as free gets.
This video shows you step by step instructions on how to install sliding closet doors.
Take your horizontal and vertical measurements
Go to Lowe’s or Home Depot and buy your doors
Get rid of existing door remnants such as the old slider guides etc.
Install the bottom track. This will involve cutting it with a hacksaw to exact length.
Drill then screw it into the floor with a cordless drill. Phillips head driver.
Do the exact same thing with the overhead door tracks.
Install the wheels onto the door if not already done.
Lift doors up into place. The top portion of the door gets inserted first. Then the bottom of the doors are placed into the tracks.
Install circular door handle inserts.They usually come stock with the white inserts but you can upgrade to the brass or silver plated ones.Cl Amazon link(#paidlink): https://amzn.to/31JnmhR
Free pallet nails for free pallet projects are a blast. What makes this so good? To me there is satisfaction that comes from making something out of something that would have otherwise gone to the landfill or get wasted. Pallets are a hoot. Also the pallet cut-offs from projects are great for use in wood stoves and especially for backyard bonfires. It takes a little elbow grease to get some of them out and some are easier than others. A good claw hammer works as a nice tool for removing them but many times a nice crow bar or pry bar works the best and can also provide the most leverage. I like to use a combination of the two when harvesting pallets and nails from pallets. Some nails you pull from pallets are actually really nice and stout and just perfect for reuse and repurposing. The upcycling or repurposing of pallet nails takes a little extra time but when you get a decent collection of them and can make a project using those hard earned nails you pulled out, it really makes it that much better. Many times it will add to that popular rustic decorative look that many folks are after.
Paid amazon link here for a steel pallet buster: Vestil SKB-DLX Deluxe Steel Pallet Buster with Handle, 41″,blue: https://amzn.to/3rtzvUU